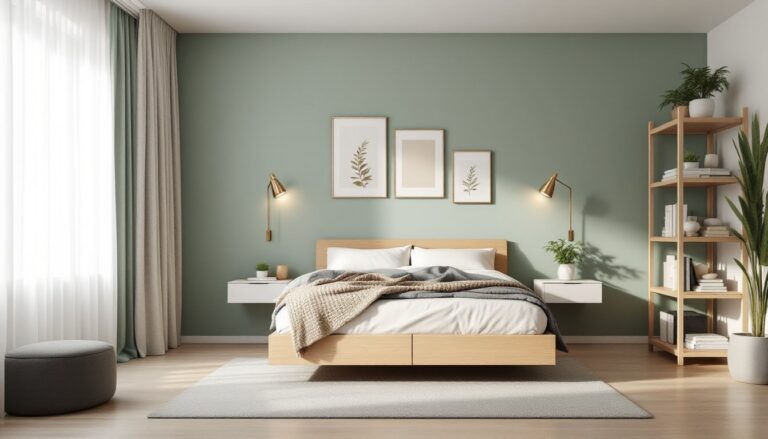
A master bedroom accent wall can turn a plain box into a retreat worth spending time in. It anchors the bed, draws the eye, and gives you a chance to experiment with color, texture, or pattern without committing an entire room. Whether you’re working with a tight budget or ready to invest in custom millwork, the right accent wall can solve design problems, hiding awkward architecture, adding visual interest to a long wall, or breaking up monotonous paint. This guide covers more than 25 practical accent wall ideas, from simple paint techniques to material treatments that add real depth.
Table of Contents
ToggleKey Takeaways
- Master bedroom accent wall ideas range from simple paint techniques to textured materials, allowing you to create a focal point and visual interest without committing to painting the entire room.
- Bold paint colors, two-tone splits, color blocking, and ombré effects are the fastest and most budget-friendly ways to transform an accent wall in one afternoon.
- Textured treatments like shiplap, board and batten, and Venetian plaster add depth and hide wall imperfections while creating a polished, intentional design.
- Wood materials—including reclaimed planks, tongue-and-groove pine, and plywood geometric patterns—bring warmth and natural character to your master bedroom accent wall.
- Wallpaper options such as large-scale florals, geometric prints, grasscloth, and custom murals deliver high-impact statement styles for every aesthetic preference.
- Budget-friendly DIY options like painter’s tape stripes, stenciled patterns, picture frame molding, and pegboard walls can be completed in a few hours for under $50.
Why Add an Accent Wall to Your Master Bedroom?
An accent wall isn’t just decoration, it’s a design tool. In bedrooms with vaulted ceilings or off-center windows, an accent wall rebalances the space by creating a focal point behind the bed. It also solves the problem of what to do with a long, blank wall that makes a room feel like a hallway.
From a practical standpoint, accent walls let you test bold choices. Maybe you’ve been eyeing a deep navy or charcoal but don’t want to live in a cave. One wall gives you impact without the overwhelm. It’s also a DIY-friendly project, most treatments can be tackled over a weekend with basic tools.
Finally, accent walls add perceived value. A well-executed feature wall signals intentional design, which matters if you’re prepping a home for resale or just want a space that feels finished.
Bold Paint Colors and Techniques
Deep, saturated paint is the fastest way to create drama. Colors like charcoal, forest green, or terracotta work well behind upholstered headboards because they provide contrast without competing. One gallon of quality paint (covering about 350–400 square feet) is usually enough for a standard accent wall, and you can finish the job in an afternoon.
Two-tone horizontal splits divide the wall at chair rail height (typically 32–36 inches from the floor). Paint the lower third a darker shade and the upper portion a lighter tone, or reverse it for a modern look. Use a laser level and painter’s tape to get a clean line, eyeballing it will show.
Color blocking with geometric shapes adds a contemporary edge. Tape off triangles, hexagons, or overlapping rectangles, then fill each section with a different shade from the same color family. This works best on smooth drywall: textured walls will bleed under the tape.
Ombré or gradient effects transition one color into another, top to bottom. Mix your base color with white in stages (say, five jars with increasing ratios), then blend each band with a damp sponge while the paint is still wet. It’s labor-intensive but delivers a custom look you can’t buy off the shelf.
Textured Wall Treatments That Add Depth
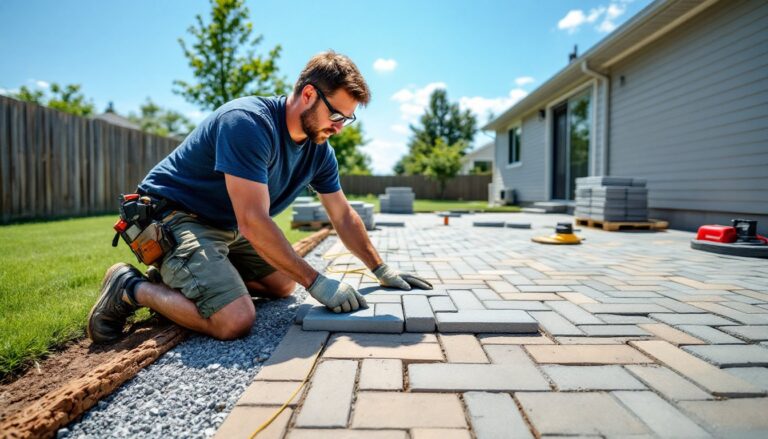
Shiplap remains popular because it’s straightforward to install and hides minor wall imperfections. Use 1×6 or 1×8 pine boards (actual dimensions: 3/4″ × 5-1/2″ or 7-1/4″), and leave a nickel-width gap between each plank. Fasten with a brad nailer into studs, then fill nail holes and caulk seams before painting. Expect to spend around $1.50–$3 per square foot for materials.
Board and batten creates vertical lines that make ceilings feel higher. Install a flat base panel (1/4″ plywood or MDF works), then overlay 1×2 or 1×3 battens spaced evenly, 16 or 24 inches on center looks balanced. Paint everything the same color for a cohesive look, or contrast the battens for more definition.
Paneling and wainscoting add traditional charm. Raised-panel wainscoting kits are available at most home centers and come with installation instructions. For a modern twist, use flat MDF panels in a grid pattern. Both options require a miter saw for clean corner cuts.
Venetian plaster or textured paint delivers an Old World feel. Venetian plaster is applied in thin layers with a trowel, then burnished for a polished finish, it’s a skill worth practicing on scrap drywall first. Textured paints with built-in grit or sand are easier for beginners and add subtle dimension without the learning curve.
Wood and Natural Materials for Warmth
Reclaimed wood planks bring texture and history. Source from salvage yards or buy pre-packaged barn wood bundles (around $4–$8 per square foot). Planks vary in width and finish, so dry-fit the layout on the floor first. Attach with construction adhesive and finish nails: no need to sand between boards, the gaps add character.
Tongue-and-groove pine installs faster than loose planks because the edges interlock. Run boards horizontally, vertically, or diagonally for different effects. Vertical installations make low ceilings feel taller: horizontal emphasizes width. Seal with polyurethane if you want a natural finish, or prime and paint for a cleaner look.
Cedar or rough-sawn lumber adds rustic warmth and a subtle scent. Cedar resists moisture and insects, making it a good choice for humid climates. Rough-sawn surfaces catch light differently than smooth wood, creating shadow play throughout the day. Expect knots and color variation, it’s part of the appeal.
Plywood geometric patterns use ½” or ¾” plywood cut into diamonds, chevrons, or herringbone. Stain each piece before installation to avoid lap marks, then arrange and glue them to the wall. Many creative design tips leverage geometric wood treatments for visual interest. This approach works well for home decor inspiration projects that balance modern and natural elements. A miter saw and a sharp pencil are your best friends here, precision matters.
Wallpaper Patterns for Statement-Making Style
Large-scale florals make a room feel lush without adding actual plants. Look for designs with a 24–36 inch repeat for impact. Peel-and-stick versions are renter-friendly and forgiving for first-timers, though traditional paste-the-wall papers offer more pattern options and durability.
Geometric or abstract prints suit modern and mid-century spaces. Hexagons, overlapping circles, or asymmetric shapes draw the eye without reading as busy. Stick to two or three colors max to avoid visual clutter. Match one color in the wallpaper to your bedding or drapes for cohesion.
Textured grasscloth or linen-look papers add depth without pattern. Grasscloth is woven from natural fibers and has subtle color variation, which hides seams better than solid vinyl. It’s not washable, so avoid it if you have kids who touch walls with sticky hands. Linen-look papers mimic fabric texture and come in neutral tones that age well.
Murals and photo-realistic designs turn a wall into art. Forest scenes, cityscapes, or abstract watercolor washes work as headboard backdrops. Custom murals cost more (starting around $200 for a pre-sized panel), but they’re a one-and-done design statement. According to design showcases, murals have surged in popularity for creating personalized focal points.
Budget-Friendly DIY Accent Wall Projects
Painter’s tape stripes require one can of paint, a roll of tape, and patience. Vertical stripes make ceilings look taller: horizontal stripes widen narrow rooms. Use a laser level to mark your lines, apply tape, then paint. Pull the tape while the paint is still slightly tacky to avoid peeling.
Stenciled patterns give you the look of wallpaper for a fraction of the cost. Buy or cut a stencil, secure it with spray adhesive, then dab paint with a foam roller or stencil brush. Work in small sections and wipe the stencil clean between repeats. A queen-size accent wall takes 4–6 hours with a repeat pattern.
Fabric panels stapled to a wood frame create a soft, upholstered look. Stretch canvas drop cloth, linen, or decorator fabric over 1×2 furring strips, staple the edges, and mount the frames to the wall. This also improves sound dampening, helpful if your bedroom shares a wall with a noisy hallway.
Picture frame molding (also called shadow boxes) uses small trim pieces to create recessed rectangles on the wall. Cut trim with a miter saw, glue and nail it in place, then paint the wall and trim the same color for a subtle effect or contrast them for definition. It’s a classic treatment that costs under $50 in materials for an average wall. Plenty of budget home makeovers feature picture frame molding as a high-impact, low-cost upgrade.
Pegboard or slat walls add function and style. Paint pegboard in a bold color, mount it to furring strips (for clearance), and use it to hang art, plants, or lighting. Horizontal wood slats (often called “feature slat walls”) can be DIYed with 1×2 boards spaced 3–4 inches apart. Both options run about $1–$2 per square foot and install in a few hours.
Conclusion
An accent wall in the master bedroom doesn’t require a full renovation or a designer’s budget. Whether it’s a can of bold paint, reclaimed wood, or a roll of peel-and-stick wallpaper, the right treatment turns a blank wall into the room’s anchor. Pick a design that fits your skill level and timeline, prep the surface properly, and don’t skip the measuring. The result is a space that feels intentional, finished, and entirely yours.