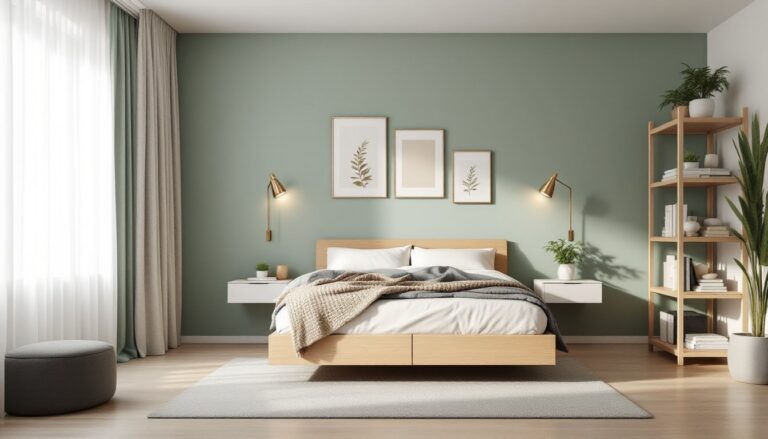
Horizontal deck railings have surged in popularity over the past decade, and for good reason. They deliver a contemporary look that opens up sightlines, makes small decks feel larger, and pairs well with everything from mid-century modern homes to new farmhouse builds. Unlike traditional vertical pickets or balusters, horizontal rails run parallel to the deck surface, creating clean lines that don’t interrupt views of your yard, garden, or landscape beyond. Whether a homeowner is replacing tired railings or finishing a new deck build, horizontal designs offer versatility in materials, from sleek stainless steel cable to warm wood slats, and can be tailored to match any style and budget.
Table of Contents
ToggleKey Takeaways
- Horizontal deck railings open up sightlines and create a modern aesthetic while making decks feel larger by avoiding the visual obstruction of traditional vertical balusters.
- Popular horizontal railing materials include stainless steel cable ($30–$60/linear foot), wood ($1.50–$6/linear foot), aluminum ($40–$80/linear foot), and composite ($25–$50/linear foot), each offering different benefits in durability and maintenance.
- All horizontal railing systems must comply with local building codes, typically requiring 36–42 inches in height with no more than 4 inches of spacing between rails to prevent small children or pets from passing through.
- Cable railings require sturdy 4×4 posts spaced 4–6 feet apart and periodic re-tensioning, while wood horizontal railings are the most DIY-friendly option but demand annual staining and sealing for longevity.
- Design impact increases through contrasting colors (dark rails on light posts), mixed materials, integrated LED lighting, and a substantial top rail that functions as both an armrest and visual anchor.
- Check local building codes before installation, as some jurisdictions restrict horizontal railings due to climbing hazards, and always obtain permits for structural railing work to ensure code compliance and protect insurance coverage.
Why Choose Horizontal Deck Railings?
The biggest advantage of horizontal railings is unobstructed views. Vertical balusters create a visual “fence” effect that can make a deck feel enclosed. Horizontal rails, by contrast, draw the eye outward and emphasize the horizon line, which is especially valuable if the deck overlooks water, woods, or a well-landscaped backyard.
Horizontal designs also contribute to a modern, minimalist aesthetic. They pair naturally with contemporary architecture, think flat roofs, large windows, and mixed materials, but they’re flexible enough to complement traditional homes when executed in wood or painted finishes.
From a practical standpoint, horizontal railings can be easier to clean than intricate baluster systems. Dust, pollen, and cobwebs have fewer nooks to settle into, and a quick wipe-down or pressure wash keeps them looking sharp. That said, spacing between rails must comply with local building codes (typically no more than 4 inches of clearance) to prevent small children or pets from slipping through, so plan accordingly during design.
Cable Horizontal Railing Systems
Stainless steel cable railings are the go-to choice for homeowners who want maximum transparency and a high-end, industrial look. Each cable (usually 1/8-inch or 3/16-inch diameter) runs through posts and is tensioned with fittings at the ends. The result is nearly invisible from a distance, giving the illusion that the deck floats in open space.
Cable systems work best with sturdy posts, 4×4 pressure-treated or metal posts spaced no more than 4 to 6 feet apart, to handle the lateral tension cables exert. Tensioning hardware (swage fittings, threaded studs, or turnbuckles) must be checked and adjusted periodically, especially in the first year as cables stretch and settle.
One downside: cable railings require more maintenance than other systems. They’ll need occasional re-tensioning, and while stainless steel resists rust, it can show fingerprints, water spots, and salt corrosion in coastal areas. Budget extra time for cleaning if aesthetics matter.
Cable kits are widely available from manufacturers like Feeney (CableRail) and Muzata, with prices ranging from $30 to $60 per linear foot installed, depending on post material and hardware finish. DIY installation is possible for someone comfortable drilling precise holes and using a cable cutter, but tension mistakes can create sagging or dangerous gaps.
Wood Horizontal Deck Railings
Wood brings warmth and versatility. Horizontal wood railings can be built using standard dimensional lumber, 1x4s, 1x6s, or 2x2s, fastened to posts with exterior-grade screws or hidden fasteners. Cedar, redwood, and pressure-treated pine are the most common choices, each with trade-offs in cost, durability, and appearance.
Cedar and redwood naturally resist rot and insects, require less chemical treatment, and age to a silver-gray patina if left untreated. They’re pricier (expect $3 to $6 per linear foot for material), but the look is worth it for many homeowners. Pressure-treated pine is the budget-friendly option at around $1.50 to $3 per linear foot, but it needs regular staining or sealing to prevent warping, splitting, and moisture damage.
For a modern farmhouse aesthetic, mix horizontal wood rails with black metal posts or painted white frames. The contrast between rustic wood grain and crisp posts creates visual interest without fussiness.
Spacing is critical. Most codes require gaps between rails to be no more than 4 inches, and horizontal boards can create a “ladder effect” that tempts kids to climb. Some jurisdictions prohibit horizontal railings for this reason, so check local building codes before purchasing materials. If code compliance is uncertain, consider adding a mid-rail or topper to break up climbable sections.
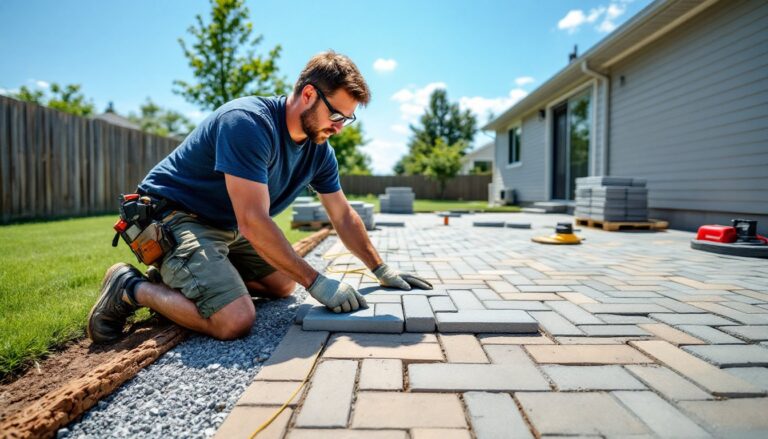
Wood rails demand ongoing maintenance, annual cleaning, staining, or sealing, but they’re one of the most DIY-friendly options. A homeowner with a miter saw, drill, and level can complete a small deck railing in a weekend.
Metal and Composite Horizontal Railing Options
Aluminum railings offer durability without the weight and maintenance of wood. Powder-coated aluminum won’t rust, rot, or require painting, and it’s available in dozens of colors and finishes. Horizontal aluminum systems typically feature extruded rails that snap or screw into posts, making installation faster than custom wood builds. Expect to pay $40 to $80 per linear foot for prefabricated aluminum kits.
For a sleek, ultra-modern look, steel or wrought iron horizontal railings deliver unmatched strength and design flexibility. Custom welded steel rails can incorporate geometric patterns, mixed materials (wood infill, frosted glass panels), or even integrated LED lighting. Steel does require powder coating or paint to prevent rust, and professional fabrication and installation will drive costs to $100+ per linear foot.
Composite horizontal railings blend recycled wood fiber and plastic polymers to mimic the look of wood with near-zero maintenance. Brands like Trex, TimberTech, and Fiberon offer horizontal rail kits that resist fading, staining, and splintering. Composite costs fall between wood and aluminum, roughly $25 to $50 per linear foot, and installation is straightforward with hidden fasteners and pre-drilled holes.
Composite does have a “plastic” appearance up close that some homeowners dislike, and it can expand and contract with temperature swings more than wood or metal. Leave proper gaps during installation (check manufacturer specs) to avoid buckling in summer heat.
Design Tips for Maximizing Visual Appeal
Contrast is your friend. Pairing dark rails with light posts, or vice versa, adds depth and prevents the railing from disappearing into the deck or house siding. Black aluminum rails on white posts create a crisp, nautical vibe, while natural wood rails on black metal posts feel warm and inviting.
Consider mixed materials for added texture. Combine cable with a wood top rail, or use composite infill with aluminum posts. Mixing materials can also help manage costs, splurge on cable for the view side of the deck, and use less expensive wood or composite on the sides that face the house.
Lighting integration elevates nighttime aesthetics and safety. Recessed LED strips tucked under the top rail or post cap lights provide ambient glow without harsh overhead fixtures. Low-voltage systems are DIY-friendly and add minimal cost ($10 to $30 per post light).
Don’t ignore the top rail. A wider cap rail (a 2×6 or composite cap) provides a comfortable armrest, a place to set drinks, and a finished look that hides fasteners and cable ends. It also reinforces the structure and can span longer distances between posts.
Finally, think about transitions. Where the railing meets stairs or changes direction, use angled connectors or returns that maintain the horizontal line rather than awkwardly switching to vertical balusters. Consistency in design makes the entire deck feel intentional and cohesive.
Installation Considerations and Building Codes
Building codes govern railing height, spacing, and load requirements. Most jurisdictions require deck railings to be 36 to 42 inches tall measured from the deck surface, with balusters or infill spaced so a 4-inch sphere cannot pass through. Horizontal rails must meet this same spacing requirement, which typically means rails placed 3.5 to 4 inches apart.
Some local codes specifically restrict horizontal railings due to the ladder-climbing risk. Before starting any project, pull a copy of the local building code or consult the building department. If horizontal rails aren’t explicitly prohibited, they’re usually allowed as long as spacing is compliant.
Posts are the backbone of any railing system. They must be securely fastened to the deck framing, not just the decking surface. Use lag bolts or through-bolts that penetrate the rim joist or blocking, and space posts according to the railing material’s load rating (generally 4 to 6 feet on center for wood and cable, up to 8 feet for some aluminum systems).
Cable railings add complexity. Each cable must be tensioned to around 200 to 300 pounds of force, which puts significant lateral load on posts. If posts aren’t beefy enough or properly anchored, they’ll bow inward over time. Use a cable tension gauge (available for around $15) to avoid over- or under-tensioning.
Permits are typically required for new deck construction or structural railing replacement. Even if a homeowner is doing the work themselves, most jurisdictions require a permit and inspection to ensure railings meet code. Skipping the permit can complicate insurance claims or home sales down the line.
For DIYers comfortable with basic carpentry and tools, wood and composite horizontal railings are achievable weekend projects. Cable systems require more precision but are still within reach for someone with experience drilling and measuring carefully. Metal fabrication, welding, or complex glass panel systems are best left to professionals.
Conclusion
Horizontal deck railings deliver modern style, improved sightlines, and material flexibility that few other railing systems can match. Whether a homeowner opts for the transparency of cable, the warmth of wood, or the durability of metal or composite, the key is balancing aesthetics with local code compliance, structural integrity, and long-term maintenance. With careful planning and the right materials, a horizontal railing transforms a basic deck into an architectural feature that enhances both the home and the outdoor living experience.